Thomas went with us to market this weekend, as he does nearly every Saturday beginning in May and ending at Halloween.
I was standing at my scale helping customers when a little hand, attached to a still-little-but-getting-bigger-quickly arm, reaches around me and starts fingering quarters in my coin tray.
“Mom, can I have a dollar?”
“Why do you need a dollar? <returning focus to customer> That’s $8.25, please.”
“I want a pickle on a stick.”
<picking up small hand and squeezing gently until fingers release coins>
“Well, if you want a dollar, go ask Grandma what you can do to EARN a dollar.”
He must have found some job to do because he was walking around with a pickle-on-a-stick 10 minutes later.
The tomatoes have been outstanding this year. I don’t know what it is, but the flavors are deep and rich. I’m thinking it was the crazy-hot temperatures in July when the plants were starting to flower and produce fruit.
I am eating so many tomatoes every week that I’m embarrassed to say it aloud. Like the number on the scale, the number of tomatoes I consume shall forever remain a secret (including the pint – yes PINT – of sungold cherry tomatoes that I had for lunch).
But, like all good things, even tomato season must come to an end and, sadly, the end is near. It’s September already and considering the summer we had weather-wise, we’re lucky to have had the crop that we did. I hope everyone who shopped with us this summer enjoyed them as well.
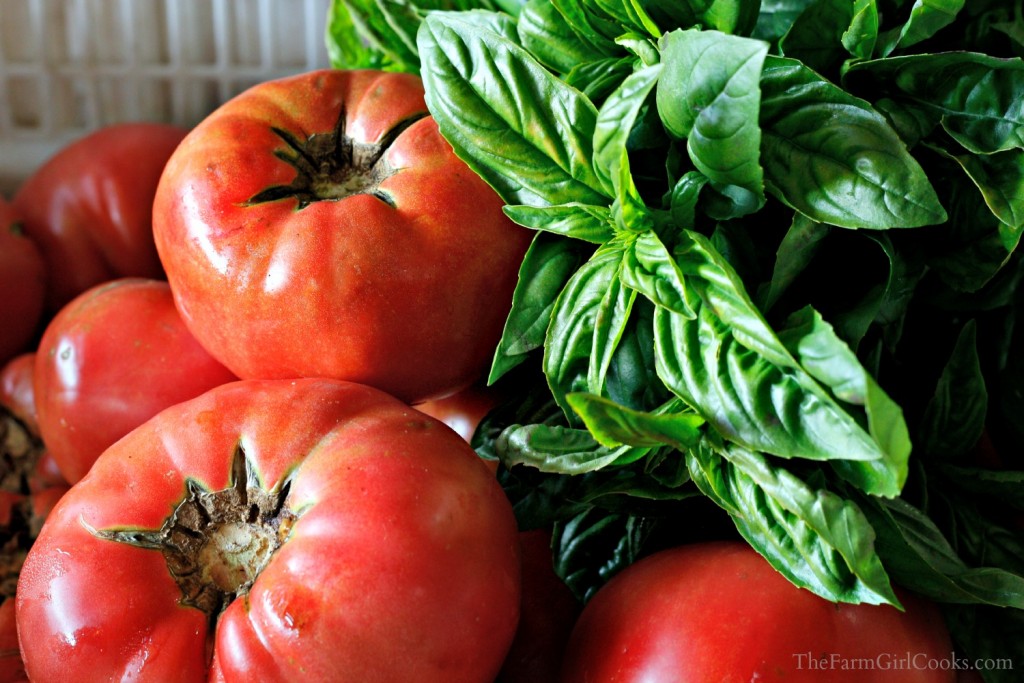
As sometimes happens, most of the time actually, we have tomatoes left over from the farmers market. Knowing what I know about the impending doom (it’s heartbreaking to some people when local tomatoes are no longer available), and knowing how much better our homegrown Polish Plum heirloom tomatoes are, I set aside last Sunday as a canning day.
Sweet Irene takes boxes of ‘seconds’ (tomatoes no longer fit for sale) home with her each week and makes and freezes her sauce. Irene works more than anyone I know, on par with Farmer Sonny, so if Irene has time to do this…. so do you.
Thanks to my dear Sweet Irene, I no longer fret over scorching a pot of tomatoes on the stove. Thanks to my dear Sweet Irene, I no longer panic over spending the day tied to the kitchen. Why? Because I slow-roast my tomatoes in the oven!
Yes, in the oven.
Makes sense, actually, because the oven heats evenly and is a very dry environment (think Arizona dry…) so it will concentrate the flavors faster. It still takes some time to do this project, but thankfully, much of it is unattended.
Busy Girl’s Canned Tomato Sauce
** The great thing about this non-water bath method of canning sauce is that I can do as many or as few tomatoes as I have access to. The way I figure it, though, if I’m ‘doing tomatoes’, I may as well do a ton of ’em. The flavor of home-grown and heirloom tomatoes eaten in the dead of winter is incomparable.
This adventure took me about 4 hours of active peeling, washing, and packing time. Granted, I was watching all my DVRed shows and taking snack breaks whenever I felt like it, so it didn’t feel like a ton of time.
I used a boatload of tomatoes (About 35 lbs will give you 7 quarts or 14 pints of tomato puree. I used around 80-90 lbs.) plus three-part canning jars in whatever size you want. Jars and rings may be reused but the lids/seals must be new to ensure safe preserving.
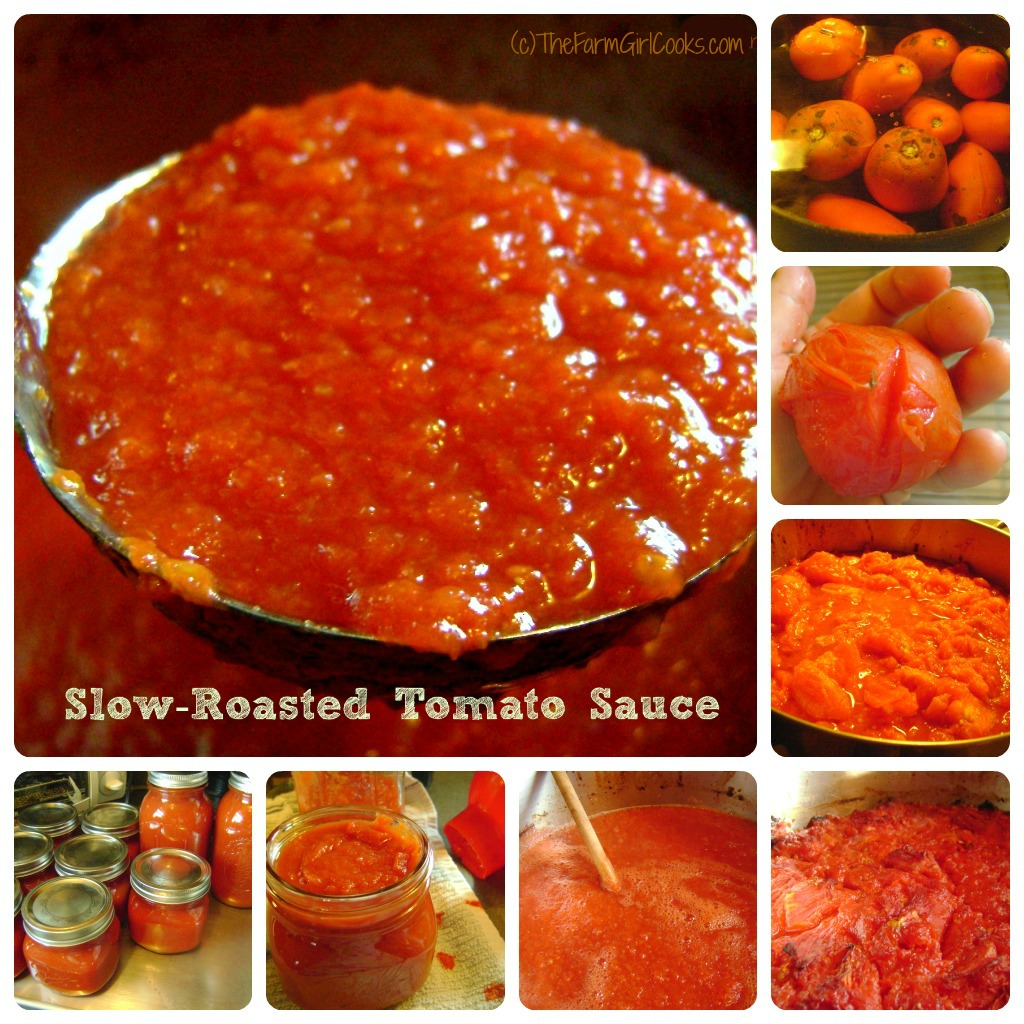
1) Rinse tomatoes and, using a sharp paring knife, score bottoms with an x.
2) Carefully submerge tomatoes, about 8 – 12 at a time, in a pot of boiling water. Allow to blanch for about 30 – 45 seconds, then, using a slotted spoon, remove them to a bowl of ice water.
3) Remove the tomatoes to a colander while you continue with the rest of your tomato inventory.
4) Slip off the tomato peels, core them and cut them in half, squeezing out and discarding the bulk of the seeds.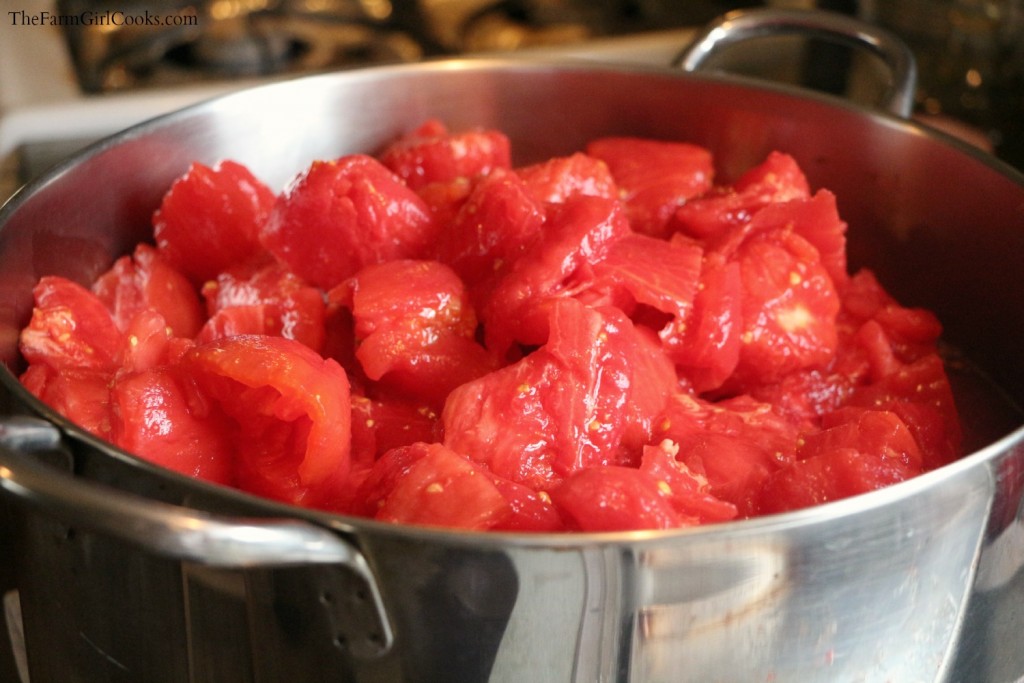
5) Pile the tomato halves in a large oven-safe stock pot or dutch oven. Place the pot(s) in a 200° oven and walk away. Seriously… walk away and let them do their thing.
6) Allow the tomatoes to cook for 12 – 18 hours. I actually let the tomatoes cook all night long then blitzed them with the blender in the morning and continued the process. See what I mean about unattended?
They’ll look like this when you take them out: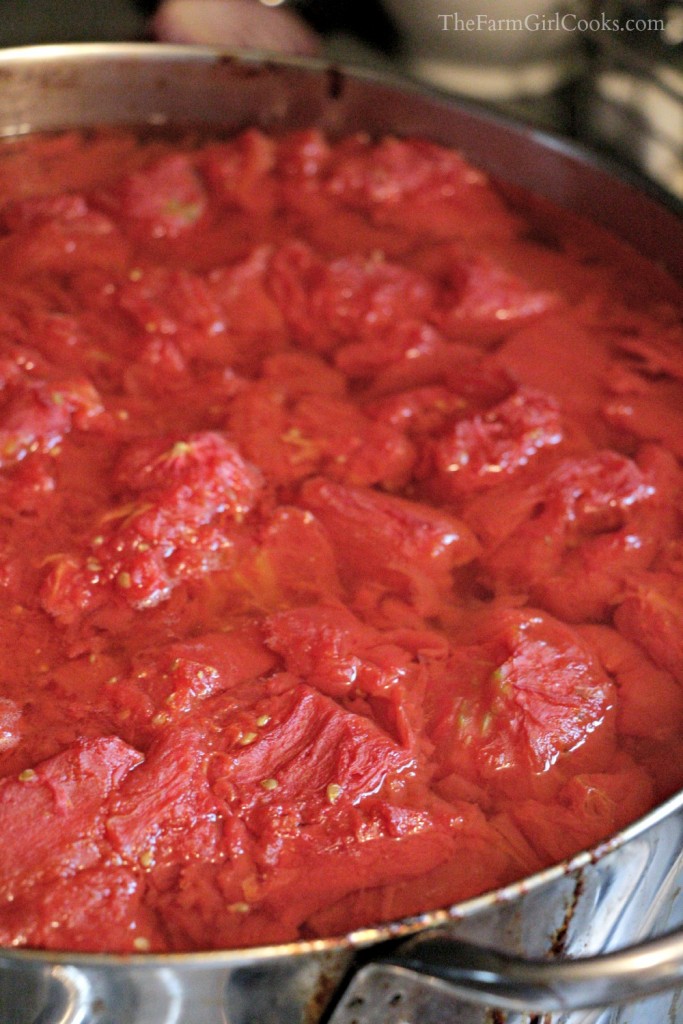
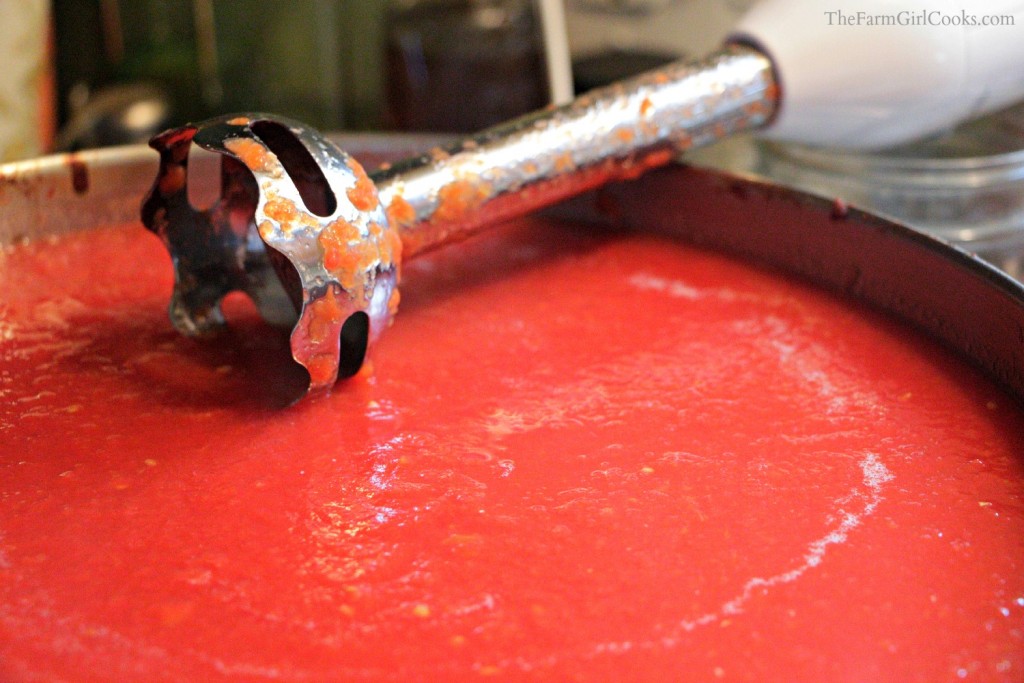
7) Remove the pot(s) from oven and do a quick whirrrr with an immersion blender. Return the pot(s) to the oven and allow to cook for another 1-3 hours.
8) Meanwhile, fill a canning pot (like this one) with water. Place your clean jars – either pints or quarts – into the pot and allow the water to boil for several minutes. You need to sterilize the jars and kill any bacteria before you pack them full of hot tomato puree.
9) Heat a small saucepan of water and drop in the lids/seals, making sure they are not stuck together. Keep the pan of water just barely below a simmer until you need the lids.
10) Remove the tomato puree/sauce from the oven. Remove the jars from the simmering water 2 at a time. Drain them well.
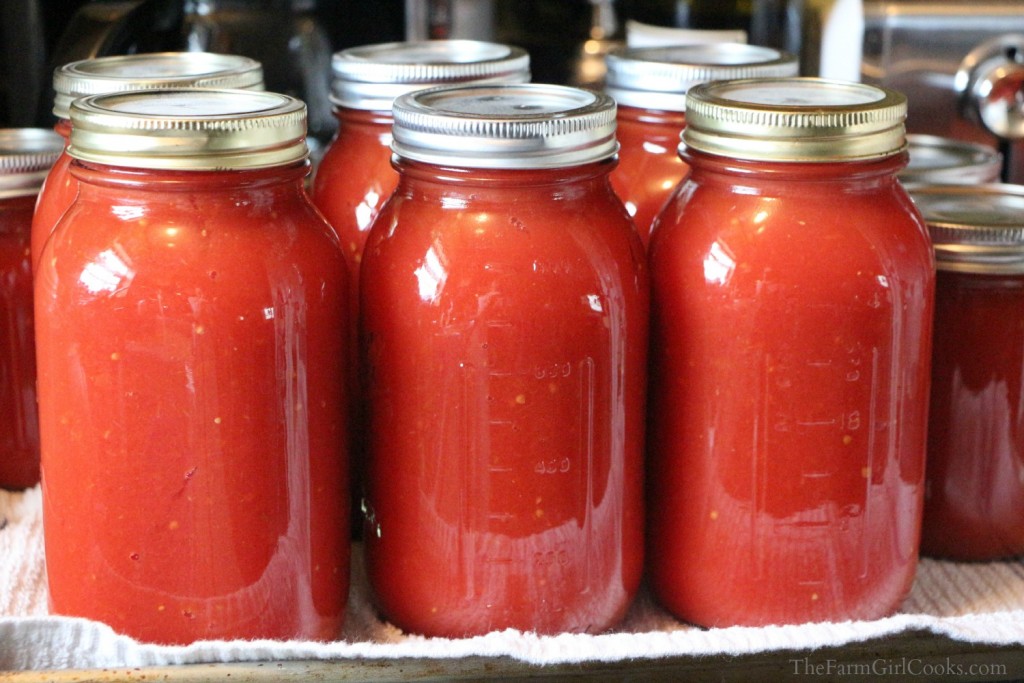
11) Using a canning funnel and a ladle, fill the hot, hot jars with the hot, hot tomato sauce leaving 1/2-inch of headspace. If you are playing by the food safety rules, you will want to add lemon juice or citric acid to each jar of sauce in accordance with the Ball® canning instructions.
12) Wipe the top rim of the jars with a damp rag or paper towel to ensure a clean seal. Remove a lid from the simmering water (this comes in handy) and place atop the jar. Place a ring on the jar and spin it on “fingertip-tight”.
13) Here’s where you make a choice to either live life on the edge or play it safe. Like generations of lady-farmers before me, I just take my chances and allow the hot jars of sauce to cool slowly on their own, causing the jars to seal properly. I’ve never had a jar not seal when canning tomato sauce this way, but there’s always the possibility that one won’t. Should a jar not seal within a few hours of filling (it will make a “pop” when the vacuum is formed), you can either process it in a water bath or just put in the fridge and use it within a few days.
However… and this is a big however… If you discover a jar that hasn’t sealed long after you put them away for storage, DO NOT USE IT. It is most likely contaminated with bacteria that could potentially make you and your dinner guests quite sick. You don’t want that to happen.
You can eliminate the uncertainty almost 100% by canning the sauce in a water bath according to Ball Fresh Preserving website. Actually, it’s a great resource so read away… It’s always a good idea to keep oneself informed 😉
**You may certainly freeze the finished puree if you have freezer space. Be sure the sauce is completely cooled before filling your freezer bags or containers. Remember, liquids expand as they cool so don’t overfill the containers or you will have raised lids and open bags plus the residual mess in your freezer.
If you’d like to print out this quick guide to canning sauce, simply click the PRINT & PDF button below. You can choose just what you want to print and even eliminate all the photos in order to save ink.


Thank you Irene and Kasha- I am going to do this tonight- before I go to sleep and let it do its thing! Can’t wait to try it! thank you all for your knowledge and sharing and best of all for the wonderful tomatoes and farmer Sonny! Almost forgot Miss Dor..ss and Thomas!
So similar to my grandmother’s method. In my opinion, the sauce tastes much better this way.
Beautiful photos and concise, safe instructions. Thanks for your charming informative blog Farm Girl 🙂
Thanks, Karen 🙂