Welcome to my very first “Field to Feast” post! I hope you will enjoy the recipes and photos that Amy Roth of Minimally Invasive and I (Kasha Bialas of The FarmGirl Cooks) have in store for you this season. Our goal is to provide our readers with plenty of ideas and recipes in which local seasonal produce can star.
We’ve learned over the years that some produce items, while delicious and absolutely edible, are completely unavailable in stores. One of those items is green spring garlic. Green garlic is just what the name implies – it’s the green, very young and tender plant that will eventually become a dry head of storage garlic. Green garlic is much like a leek in terms of use.
This garlic plant has grown from a single clove of German White hard-neck garlic that was planted LAST October (2012). It has to start growing in the fall and build up food stores, then lie dormant all winter. It will begin to grow again very early in the spring. By this point, early June, we’re all a little anxious for fresh green veggies again. Even though it lasts quite a long time, our homegrown garlic won’t last until now. Ten months post-harvest, in storage. It will begin to sprout and become dehydrated and totally unusable.
Thankfully there is green garlic! We at Bialas Farms were not the first to introduce the use of spring garlic stalks to our customers but we have been selling it for several years now. Like most specialty crops, this has a season of a few short weeks and as such will be unavailable by early July. Soon after, however, we’ll have an abundant supply of garlic scapes. But scapes are an entirely different story so we’ll leave that until later, ok?
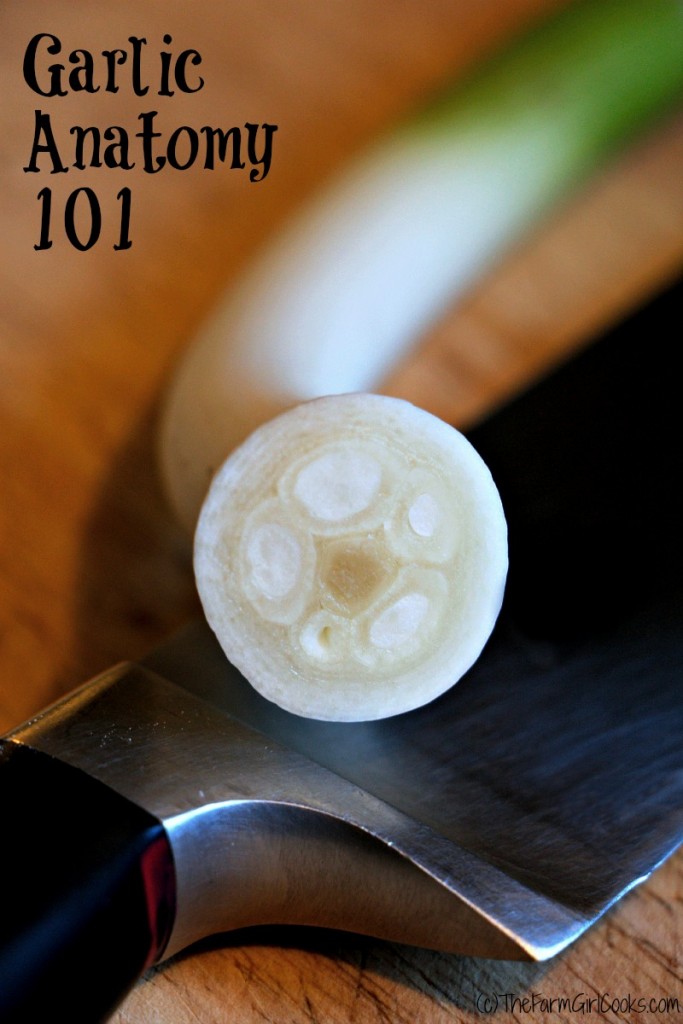
This cross-section of a stalk of green garlic shows you how the garlic is developing. We grow a hard-neck variety which means the cloves are formed around a central stem. You can see the five cloves forming above. The layers of white around them are actually an extension of the green leaves that appear as the garlic grows from the ground. Those layers, and their leaves, will age and dry once the garlic is harvested and will form papery skins to help protect the cloves within. The entire stalk of garlic is usable at this point. The white and light green parts can be chopped and sauteed for a mild garlic flavor or they can be used raw for more intensity.
I made garlic stock by simply simmering the green leafy parts of a bunch of garlic (about 5 stalks) in water with a bit of salt for an hour then straining. It was the color of a well-steeped green tea but had the flavor of mild garlic. You can use it in risotto, as I did, or in soups or sauces. If you want to make it now while the greens are available it will keep well in the freezer until soup-making season arrives.
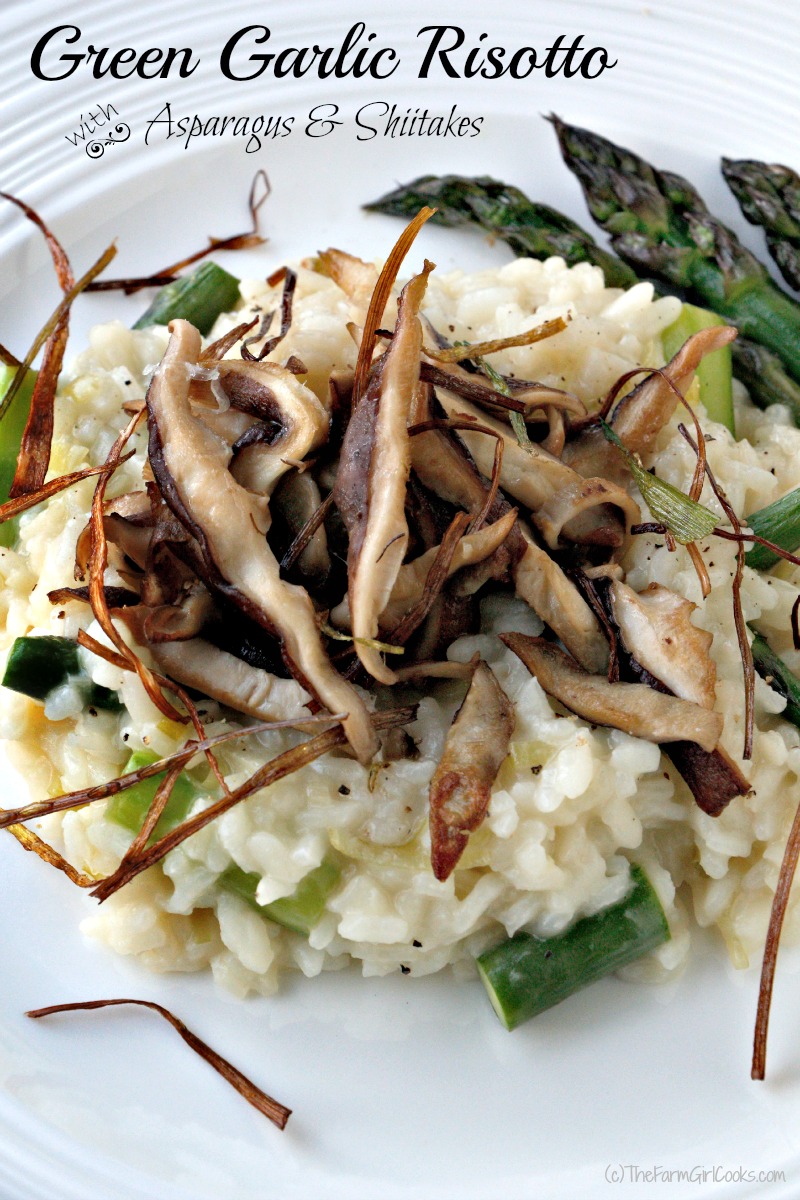
We do not grow it for sale, but Dad and I have a special patch of asparagus that has been in production for a good 12 years or so. Sadly, we noticed much less asparagus than usual following the floods of 2011 (Hurricane Irene) and I’m thinking we may need to plant some more root stock to increase our supplies. With fresh green garlic and homegrown asparagus available to me, I thought nothing could be finer than a big bowl of creamy risotto. Thankfully, risotto is a breeze to make and it serves as as excellent springboard for a satisfying one dish meal that uses up anything and everything you may want to clear out of your fridge and/or pantry.
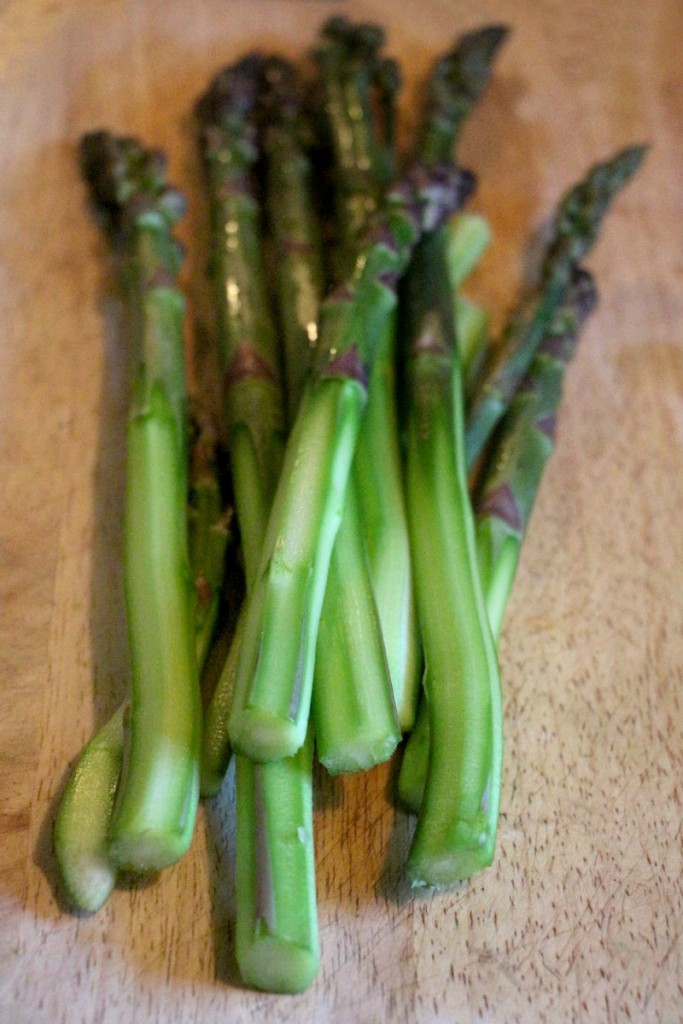
Oh, and by the way…I peel the bottom third of any asparagus that is larger than a first grader’s pencil (you remember those chubby red pencils, right?) because I hate the stringy skin. I do this when I steam it, saute it, or simply grill it with olive oil, salt and pepper.
There are a few essential rules to making risotto, but really and truly, you can take the basics and go anywhere with them.
Please remember:
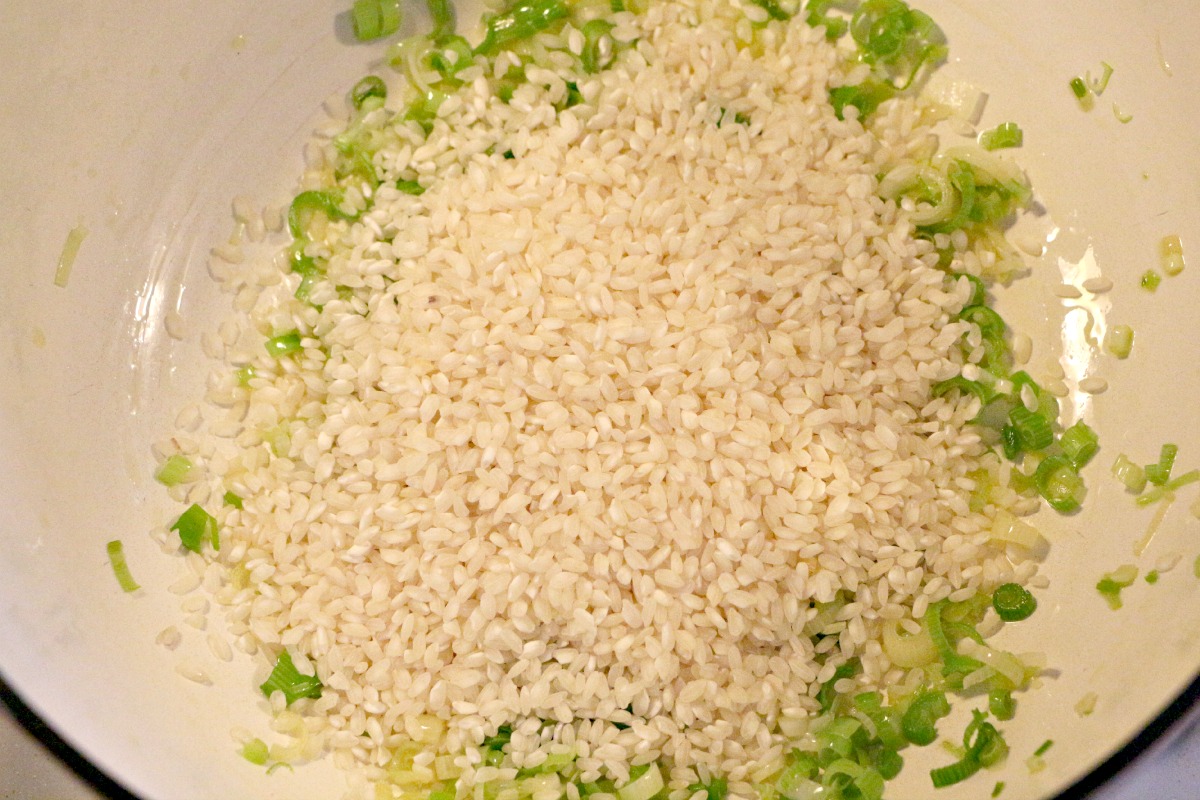
Cook and stir the aromatic veggies (garlic, onions, shallots, etc) until they are softened but not browned. Browning will make your risotto bitter. Add the rice to the skillet and allow to cook, stirring frequently, until…
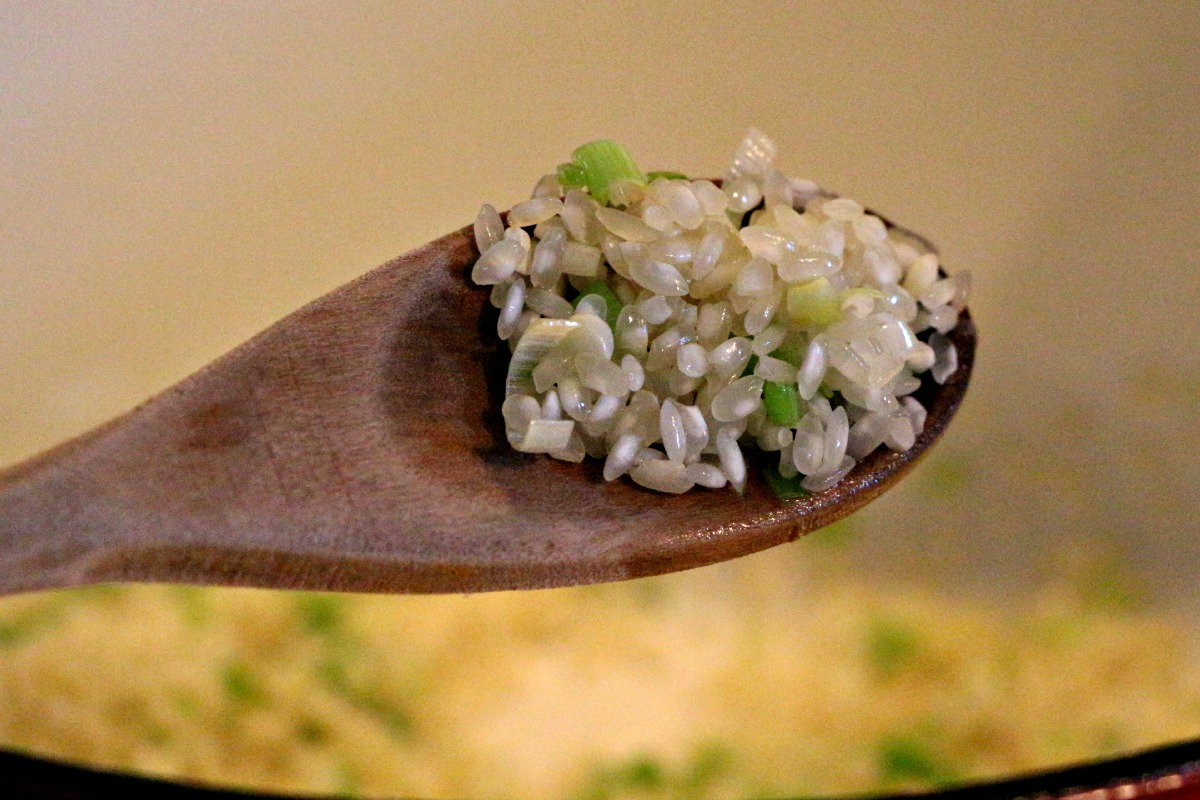
…the rice is mostly translucent and just a bit of white peeks through. At this point you want (you WILL, I swear!) to add a bit of dry white wine to the pan. Let this bubble and cook away while you stir with love.
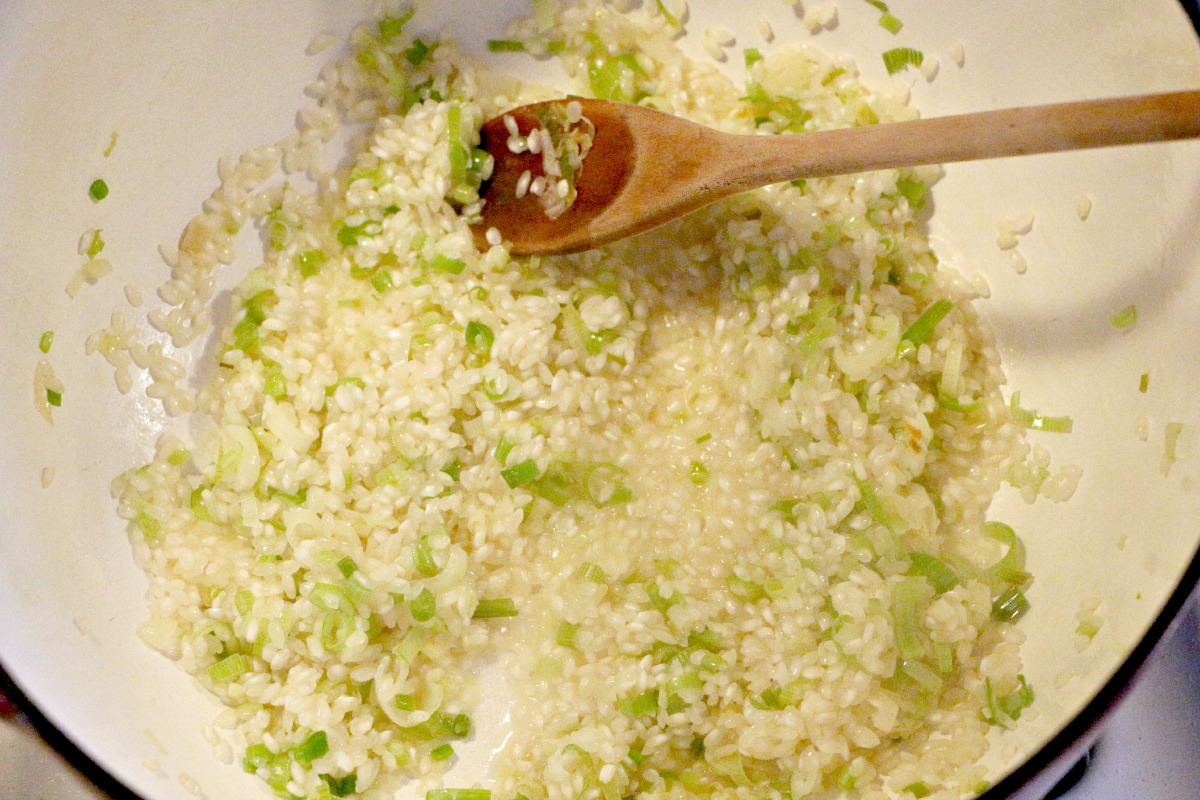
When the wine is all but absorbed, start adding a bit of the hot broth 1/2 – 1 cup at a time. Keep the heat on medium and add another ladle of stock after the previous one has been absorbed. Stir gently and be patient and be sure to taste it as you get close to finishing the stock to make sure the rice is cooked.
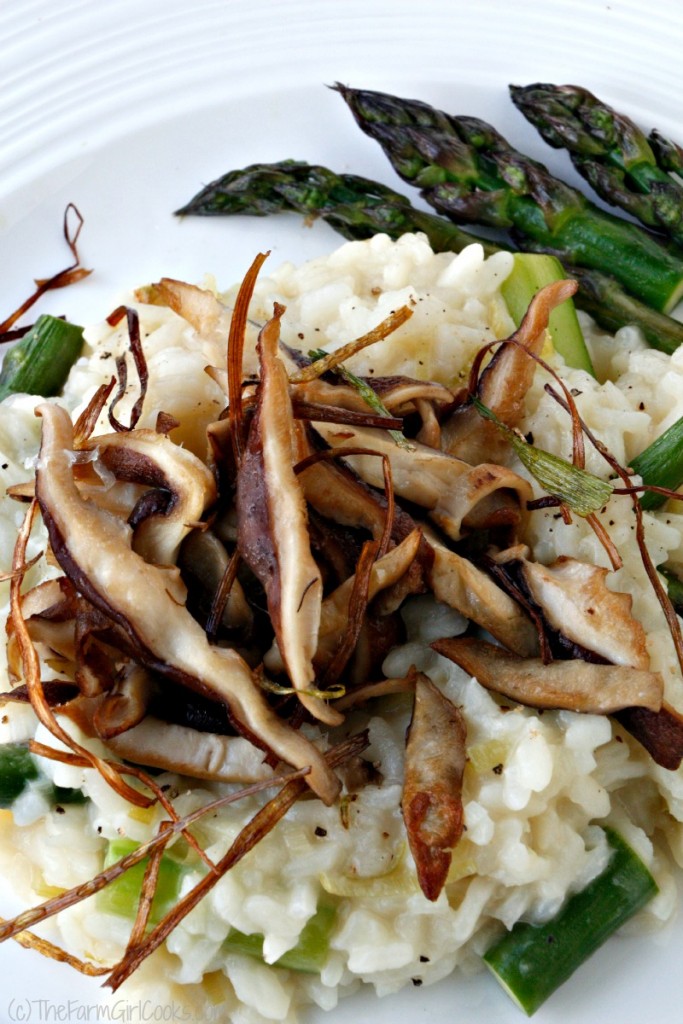
When the rice is cooked through but still has texture and is not a pile of mush, stir in any butter or cheese and additions (in my case here, sauteed asparagus and shiitakes).
I typically prefer a looser consistency than you see here in my photo. Risotto can be tricky but only if you are a slow photographer. If you are making it and serving it immediately, just prepare it to your liking. If you are holding it for any length of time, remove it from the heat and allow to cool several minutes before it’s really done, reserving some of the broth. When you reheat it, you will add more heated broth a bit at a time.
- 1 T olive oil
- 1/2 cup green garlic stalks sliced
- 1 cup arborio rice
- 1/2 cup dry white wine
- 5-6 cups garlic stock or any flavorful stock that you love
- 1/2- pound shiitake mushrooms sliced and sauteed in 1 t each butter and olive oil
- 10-12 oz asparagus trimmed and cut into 1-inch pieces, sauteed
- 1 oz grated pecorino or Parmigiano Reggiano
- 2 T unsalted butter
- Salt and pepper to taste
- Frizzled Garlic Straws (optional garnish - IF you don't nibble them all away before plating
-
Bring stock to boil in a small saucepan then keep at a simmer until needed.
-
Heat oil in fairly deep skillet - wider is preferable to narrow as the risotto will cook more evenly - and add the sliced garlic stalks. Cook and stir over medium heat for 4-5 minutes but do not allow the garlic to brown. Add the rice to the skillet and continue to cook and stir for another 3 minutes.
-
Deglaze the pan with the wine and cook, stirring, until the wine is nearly absorbed. Begin adding the stock 1/2 cup to 1 cup at a time, stirring frequently but not 100% of the time, and allow it to be absorbed before adding the next batch of stock.
-
Meanwhile, saute the mushrooms and asparagus ( I did them separately as they have different cooking times) in a mixture of olive oil and butter and season with salt and pepper. When the rice is tender but not mushy, stir in the butter and grated cheese and the asparagus and mushrooms. Be sure to reserve the prettiest asparagus and mushroom slices for garnish
-
Plated risotto looks wonderful on a shallow bowl or plate with sloping sides. Ladle a bit onto everyone's plate, then dust with Parmesan and sprinkle with frizzled garlic straws and any reserved mushrooms and asparagus.
**Frizzled Garlic Straws are simple enough to make. Split a garlic stalk in half lengthwise then cut each half into thin strips. Transfer the strips to a shallow pan of hot vegetable oil – about 1-inch deep should do – and stir gently while the strips cook to delightfully crispy sticks. Remove from pan and let drain on paper towel, then salt to taste.



Yes! That’s what I was talking about, cooking book-wise, only from a kid’s perspective: little kid learning how the food grows with bright photos, then prepares a kid-friendly recipe with the item with bright photos, around the seasons brightly photographed.
Mmmmmmmmm – risotto. So easy, a kid could do it!
Did you install a drive-up window in your farm market truck yet?
C’est moi, Julia-ette
No drive-thru, but we are open every Tuesday at the farm for veggie purchases… 3pm – 6:30pm 😀
I love the idea of a kid’s book, too, although from MY kid’s perspective? They may not rate it ‘G’.
Thanks for the information and keep up the fabulous blogs.
Thank you!!!